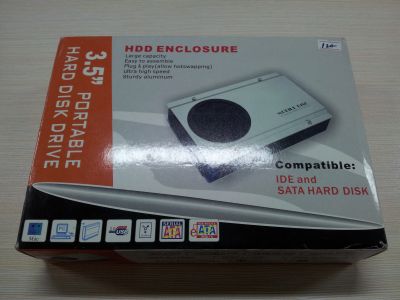
Wooohoo! Bought me a cheap external hard drive!
It's a very high-quality unit. Completely made from aluminum. Nice!
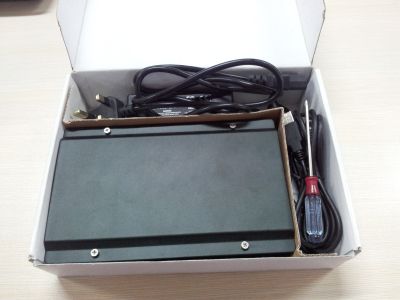
Wow! It even comes with a screwdriver!
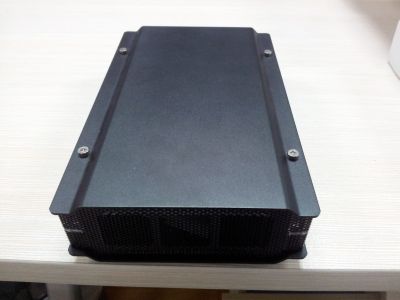
Here's what the unit looks like - pretty!
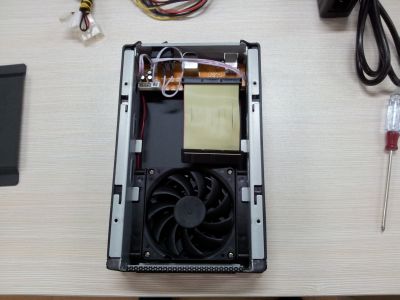
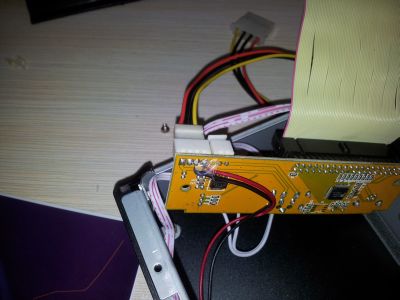
Wait! There's a problem! The power connector for the hard drive is missing! AAAAAIIIIIIYYYYAAAAAA!
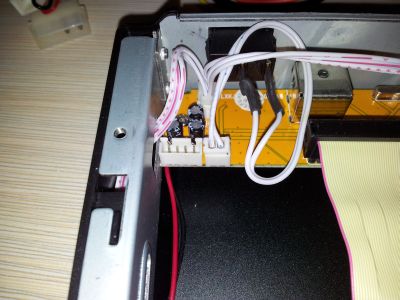
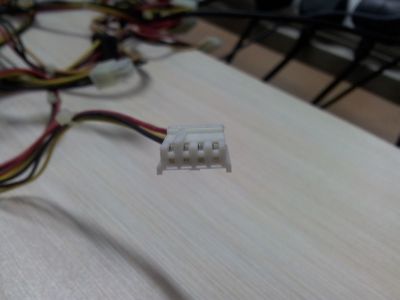
A detail shot of the "mystery" power socket, the empty four pin socket to the upper left.
Not having a power connector has basically BLOCKED PROGRESS on this project for years now. The connector somehow resembes a CDROM connector, but it isn't exactly like a CD-ROM connector because it is physically "keyed".
The situation with this socket is is very, very frustrating. After years of casually looking around with *nobody* saying that they had anything like this connecter.
NOW it's time to try fabricating one!
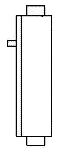
Here's the profile of a normal, 4-pin connector that is used as an auxilliary power source (floppy drive, etc...) within a typical PC:
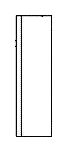
Here's the profile of the WEIRD-O connector that is required by this device:
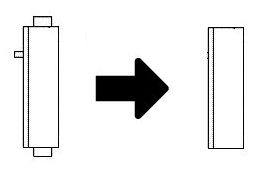
Sooo....what we want is this?
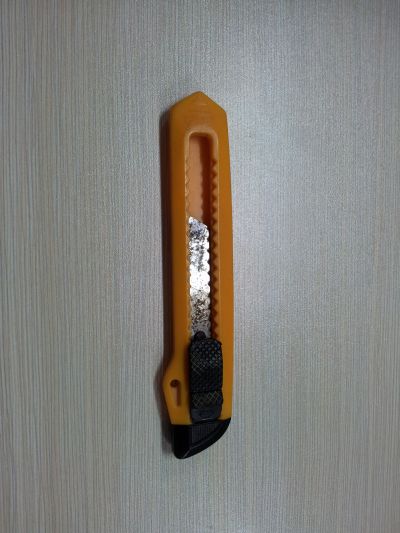
OK, time to get with the tools. In this case we just need to CAREFULLY use a utility knife...
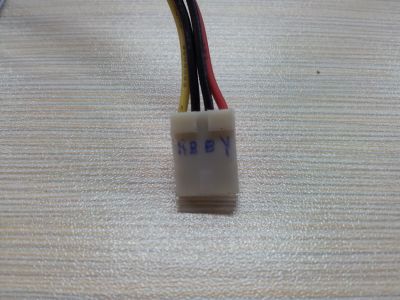
BEFORE

AFTER
Could it have been that EASY? Hey, let's PLUG IT IN and see what we get!
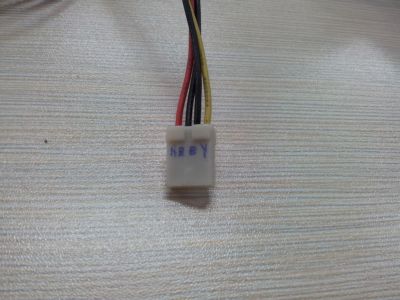
WAITASEC! THINK FIRST! Yes, the power connector is a "flat" connector that is "keyed" and which can only fit in one way due to its off-center connectors. BUT WHICH WAY? Now, we can infer from the purpose of the connector that we are probably going to have one RED (+5v), two BLACK (ground) and one YELLOW (+12v) wires. Get the orientation right and you have a nice, humming unit. Get it wrong and there's a very, very high chance that we get a puff of toxic white smoke and an even more complicated build. Soooooo.......how about we make sure we at least get as much information as possible about the black and red wires right, shall we?
How about we take a closer look at the BOTTOM of this circuit board, where there are apparently some CLUES! See those little wires leading up to the circuit board? Maybe they can help!
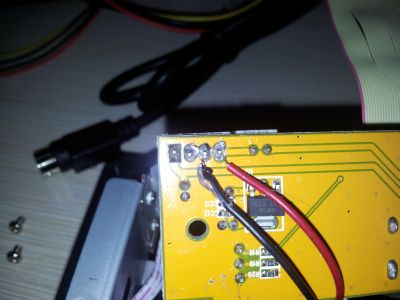
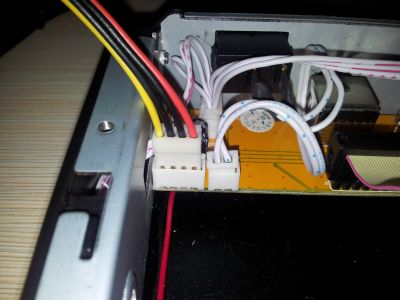
BINGO! HELP IS AT HAND! Here's a shot of the bottom of the circuit board with a clear shot of the red and black wires which wires come up and connect to the bottom of the power connector. Shall we assume that RED and BLACK mean the same in this little Chinese disk box as they are in the rest of the Personal Computing world? That means that RED = +5v and Black = gnd. Well, everything is set and the temptation to plug it in and run is just OVERPOWERING!
But hey, caution first! Let's plug it together, unpowered, and see what we can see, OK?
CRAP! EVERYTHING SEEMS BACKWARDS!
Yup! IT IS BACKWARDS!
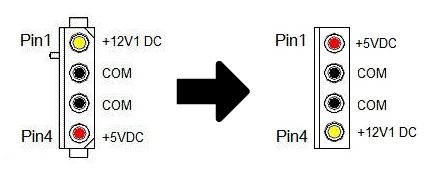
So....this is how the connector needs to be wired to work properly?
So, here's how the wires need to enter this connector, EXACTLY REVERSED from what they actually are...
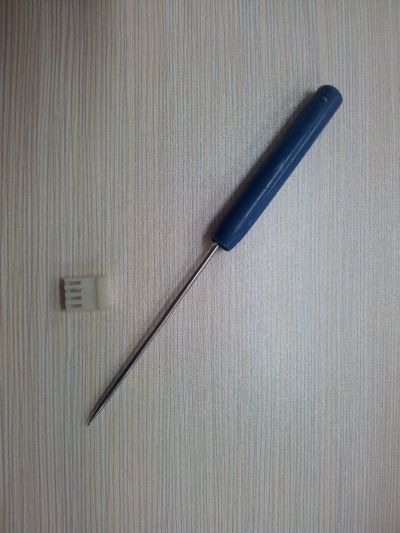
Thankfully, I have done this before. You need a little, sharp tool that enables you to push down the retaining clip on the wire and gently withdraw the wire from the connector. Here's the end result - an empty connector, accomplished with something that looks like a small version of an icepick...and I happen to have one! :)
OK, here's the connector rewired.
Now for the "plug it in and see" moment... Connector fits... wires look reasonable... Soooo...where's the "sacrifice" disk? ;)
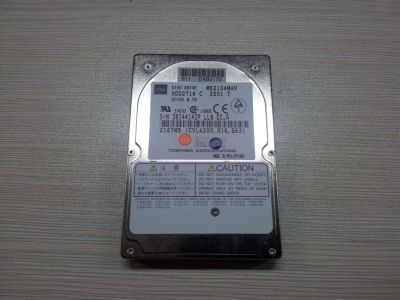
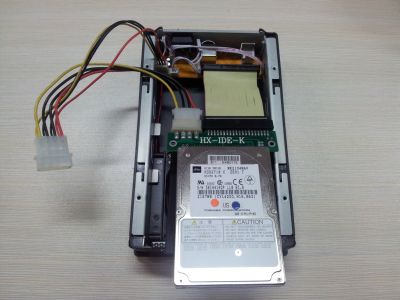
Here we go! One semi-broken laptop HDD (multiple sector errors) but sufficient to see if the little THANG powers up, right?
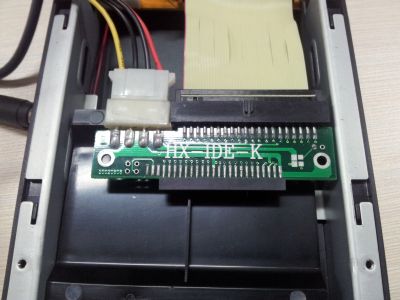
OK, heres a little connector that makes an IDE connector (which this box features) able to interface to a laptop interface (header)
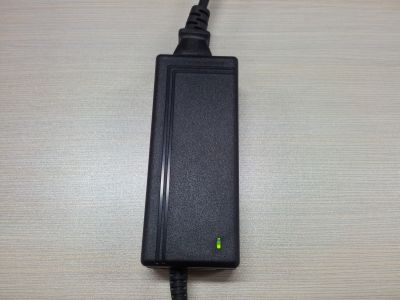
Alright, the power brick still works...that's encouraging!
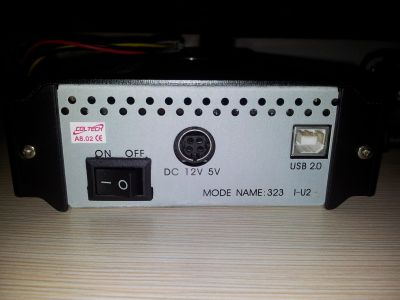
OK, there's a power switch on the back of the unit...
Here's the entire assembly together, but not with the switch flipped (yet)...
OK, FLIP THE SWITCH!
Alright...no white smoke (so far...)
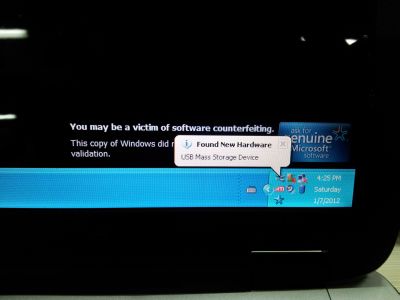
Wooohooo! Found New Hardware....looking good!

OK! Now the hardware is a Disk Drive. CORRECT!
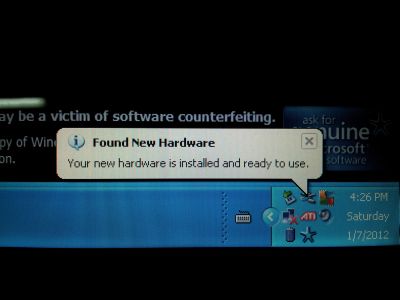
Wow! Installed and ready to use! Excellent!
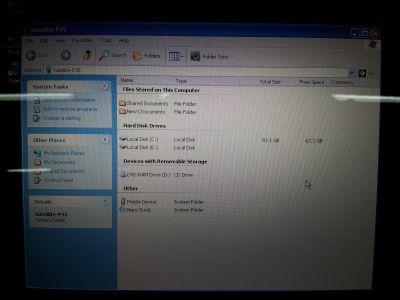
The drive shows up in Explorer....as drive E:
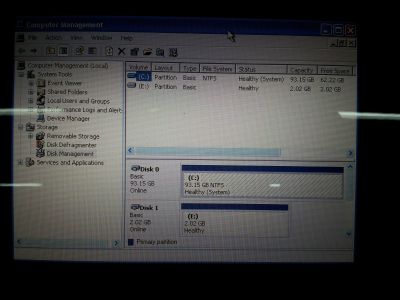
Computer Management Console also sees the drive...excellent!
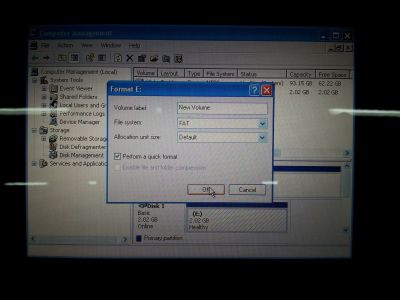
OK, let's format this puppy and then GET TO WORK!
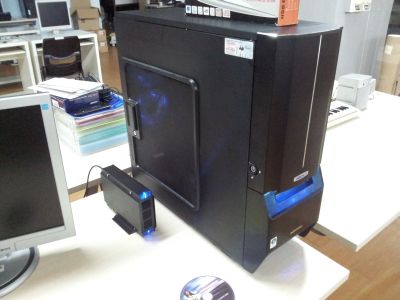
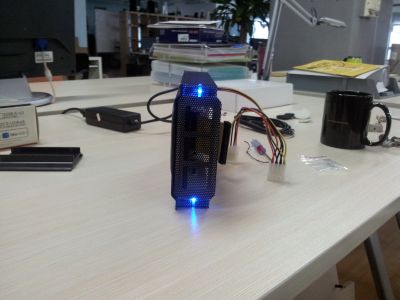
Here's the unit in service to another project, BIG BLUE
SOLVED
